Optimized for
The Infrastructure
for the AI Coding Era
Stop wasting your vibe on server configs. Deploy AI-generated apps to production-ready servers in 60 seconds.
Vibe it
Build your app in Cursor, Claude Code, Codex, Windsurf, or Bolt. Your code, your stack, your rules.
Push it
One commit to GitHub, GitLab, or Bitbucket is all it takes to trigger a deploy.
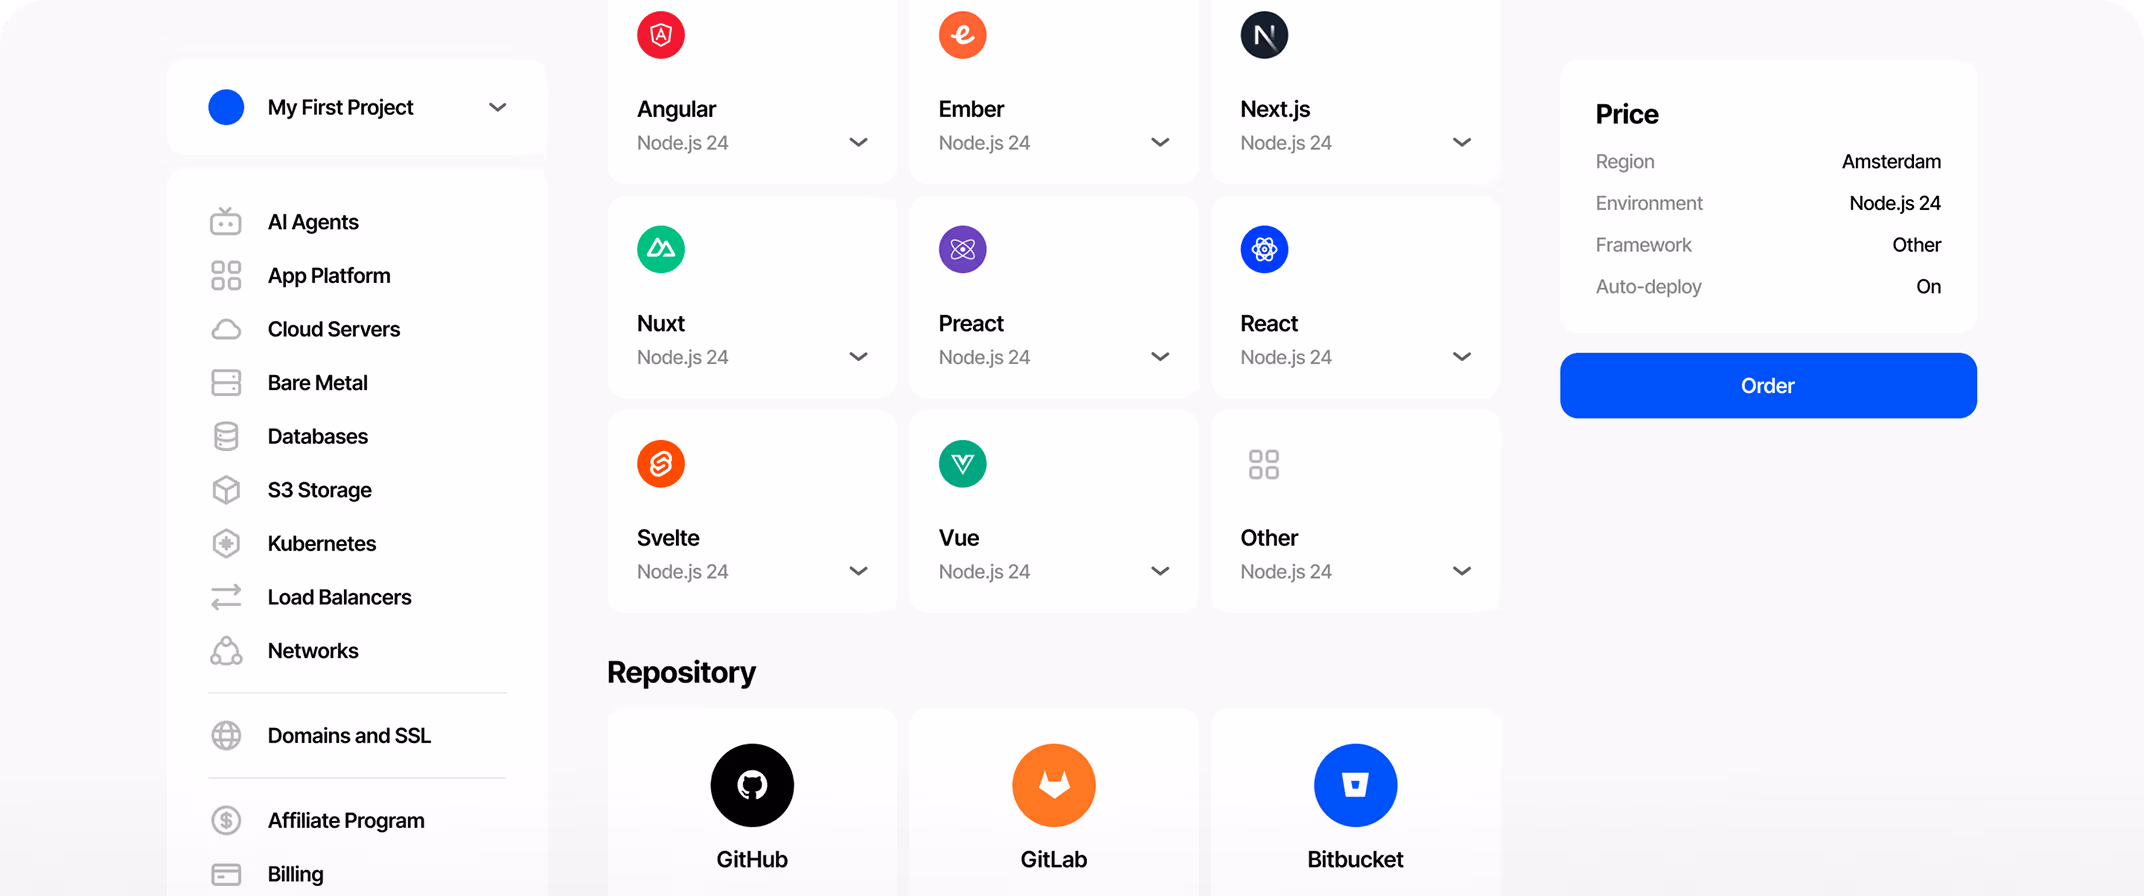
Ship it
You pick the stack-Hostman builds, issues SSL, and deploys your app. Zero config, zero surprises.
Scale Your Vibe
to Millions. Stay in Flow
Move from a single container to a high-availability Managed Kubernetes cluster
without rewriting your infra. Distribute traffic with robust Load Balancers.
Protect your perimeter with automated Firewalls.
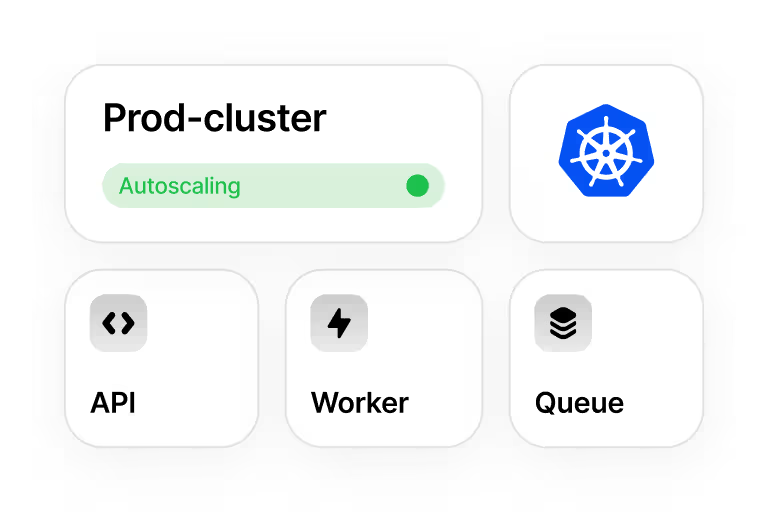
Managed Kubernetes
Autoscaling node groups, premium NVMe workers, private networking, and OIDC provider support included.
Load Balancers
HTTP/HTTPS rules, Round Robin, sticky sessions, health checks, and automatic HTTP to HTTPS redirect.

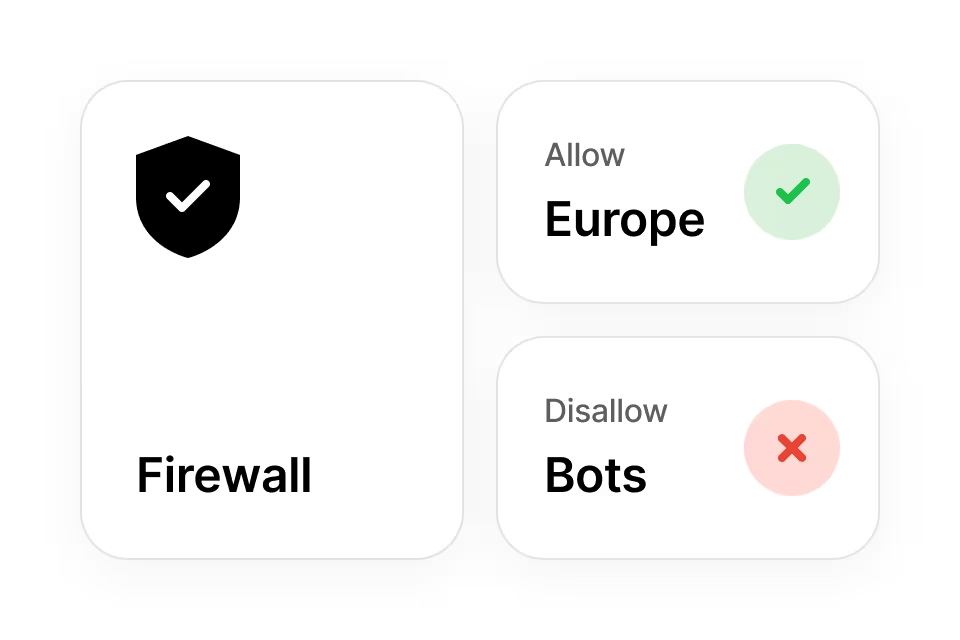
Firewall
Custom rules for inbound and outbound traffic across ports, protocols, and IP ranges.

Add AI to Your App
Without the Infrastructure Overhead
Build RAG systems, API integrations, and embedded chatbots using the best models
available—ChatGPT, Claude, DeepSeek, Grok, and Gemini. Deploy AI features on the same infrastructure
your app already runs on. Pay per token, scale without limits.
Ship Fast, Stay Secure
We power your business as you scale: from quick, easy integration to powerful payment
optimisations and effortless money management.
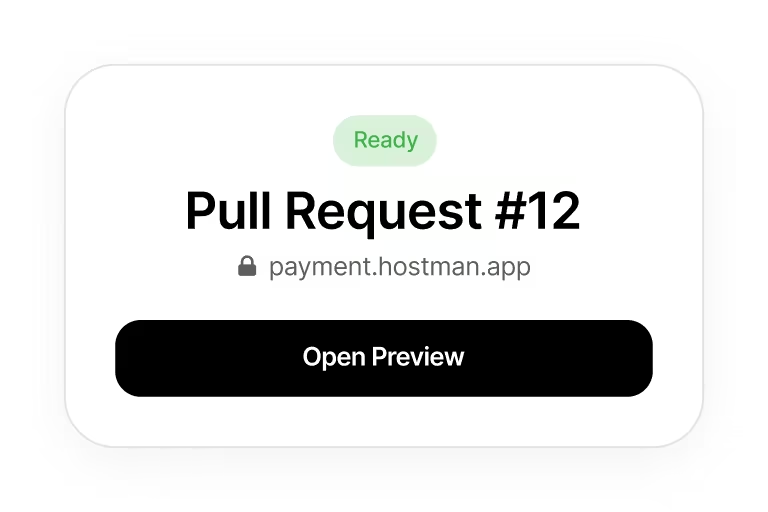
Preview Environments
A unique URL for every Pull Request. Review, test, and approve beforeyou merge—no more "works on my machine."
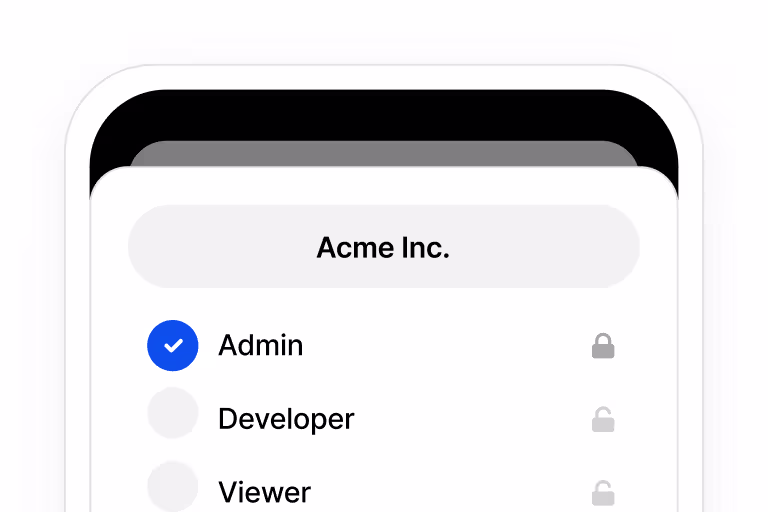
Centralized Oversight
Manage projects across your team with granular permissions, role-based access, and transparent billing. Built for tech leads who need control, not complexity.
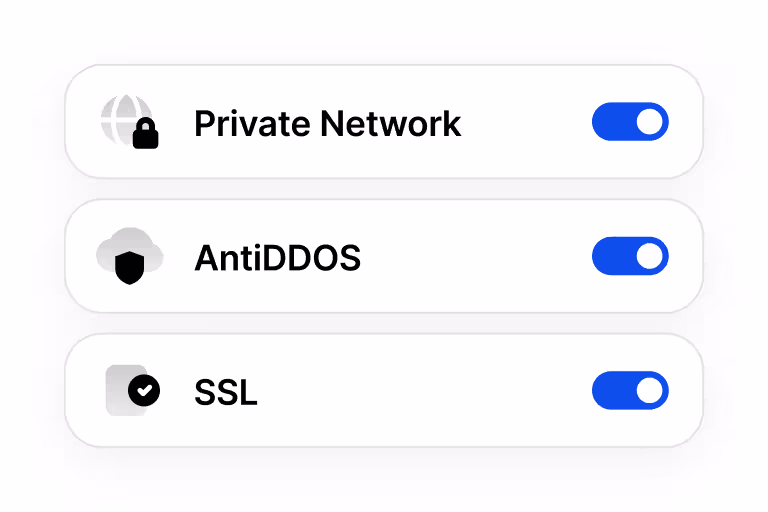
Networking & Security
Private Networks for internal traffic, automated SSL, and robust DDoS protection. Security that scales as your team grows.
Fueling the AI Coding Era
Stop fighting your stack and start building.
See why the fastest AI teams are moving to Hostman.


