Optimized for
The European Cloud
for the AI Coding Era
Deploy AI-built apps in 60 seconds. Scale to production on European infrastructure.
Build it
Build your app in Cursor, Claude Code, Codex, Devin, Bolt—or any IDE you call home. Your code, your stack, your rules.
Push it
One commit to GitHub, GitLab, or Bitbucket is all it takes to trigger a deploy.
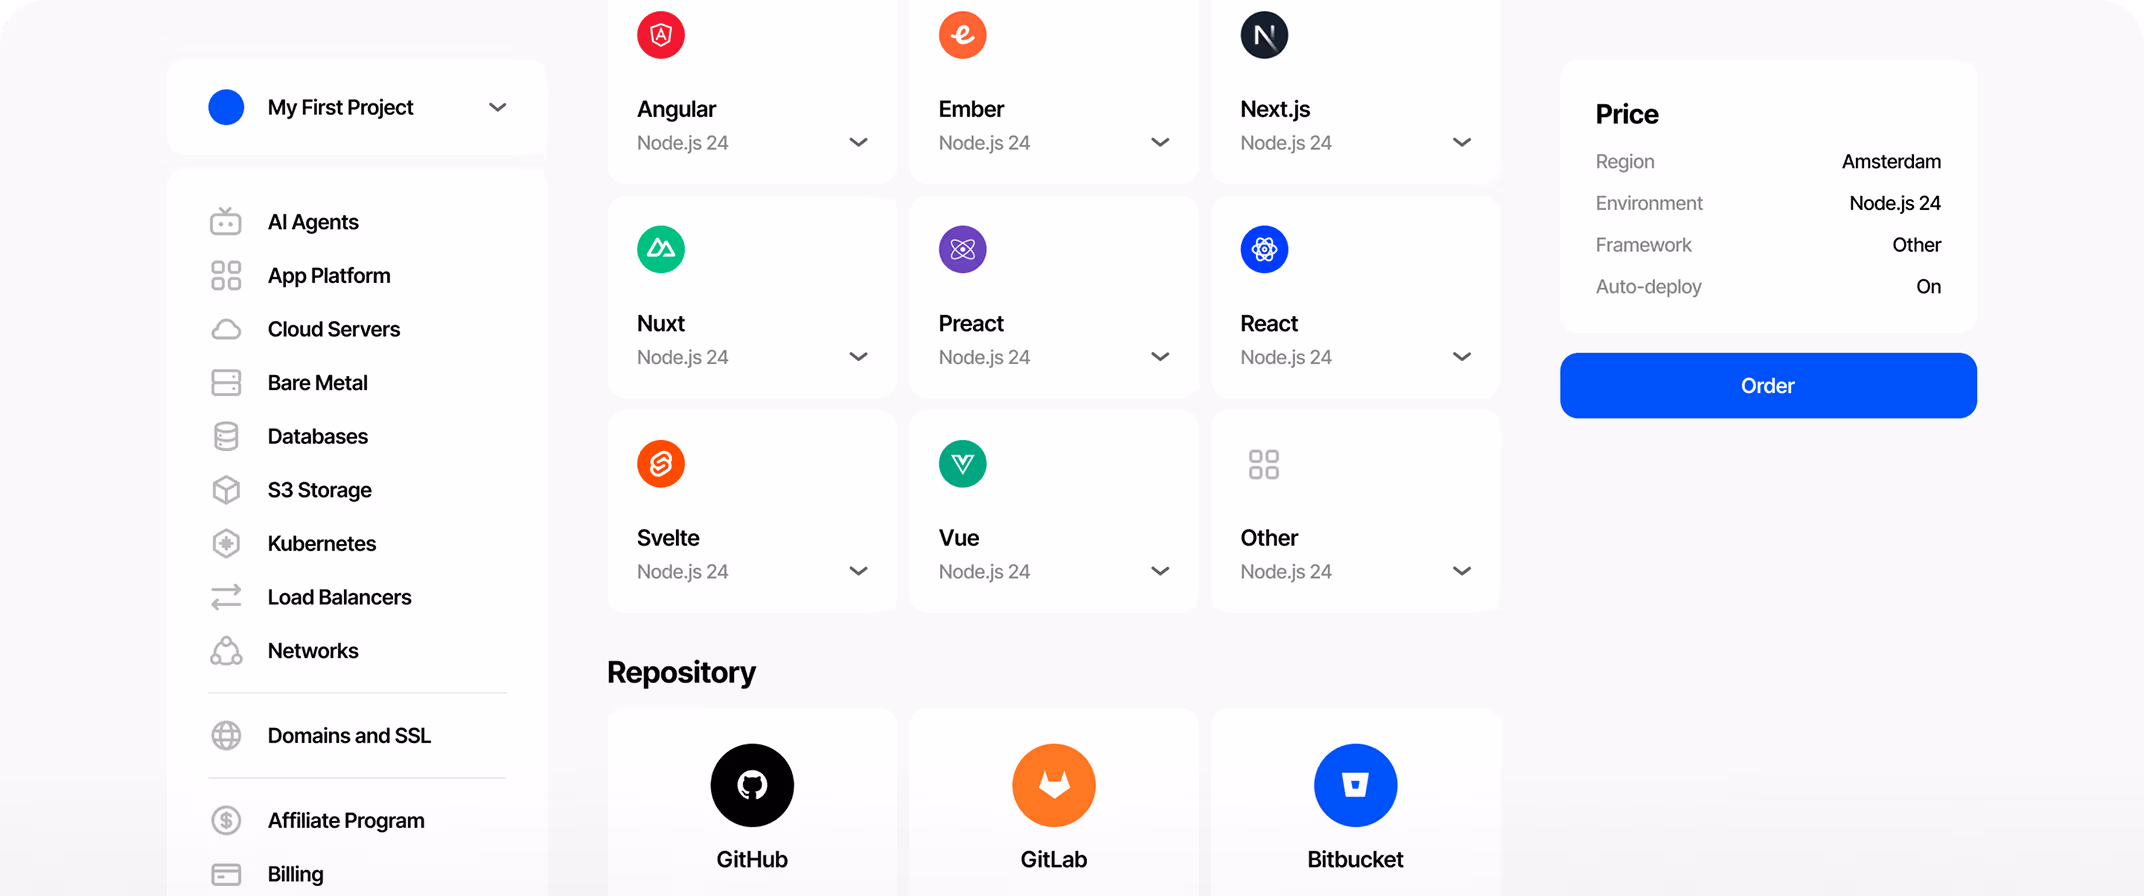
Ship it
You pick the stack—Hostman builds, issues SSL, and deploys your app. Zero config, zero surprises.
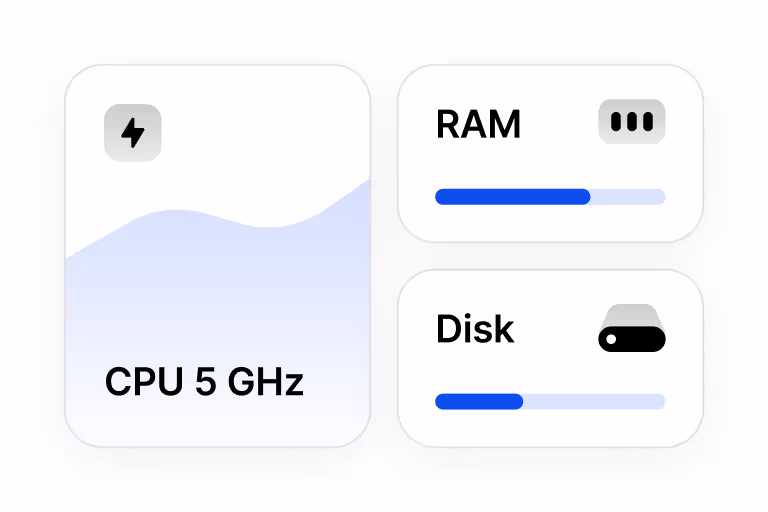
From First Deploy
to Production Scale
Start with a single container on App Platform. Outgrown it? Move to Cloud Servers,
Managed Kubernetes, or Bare Metal—without rewriting your infrastructure.

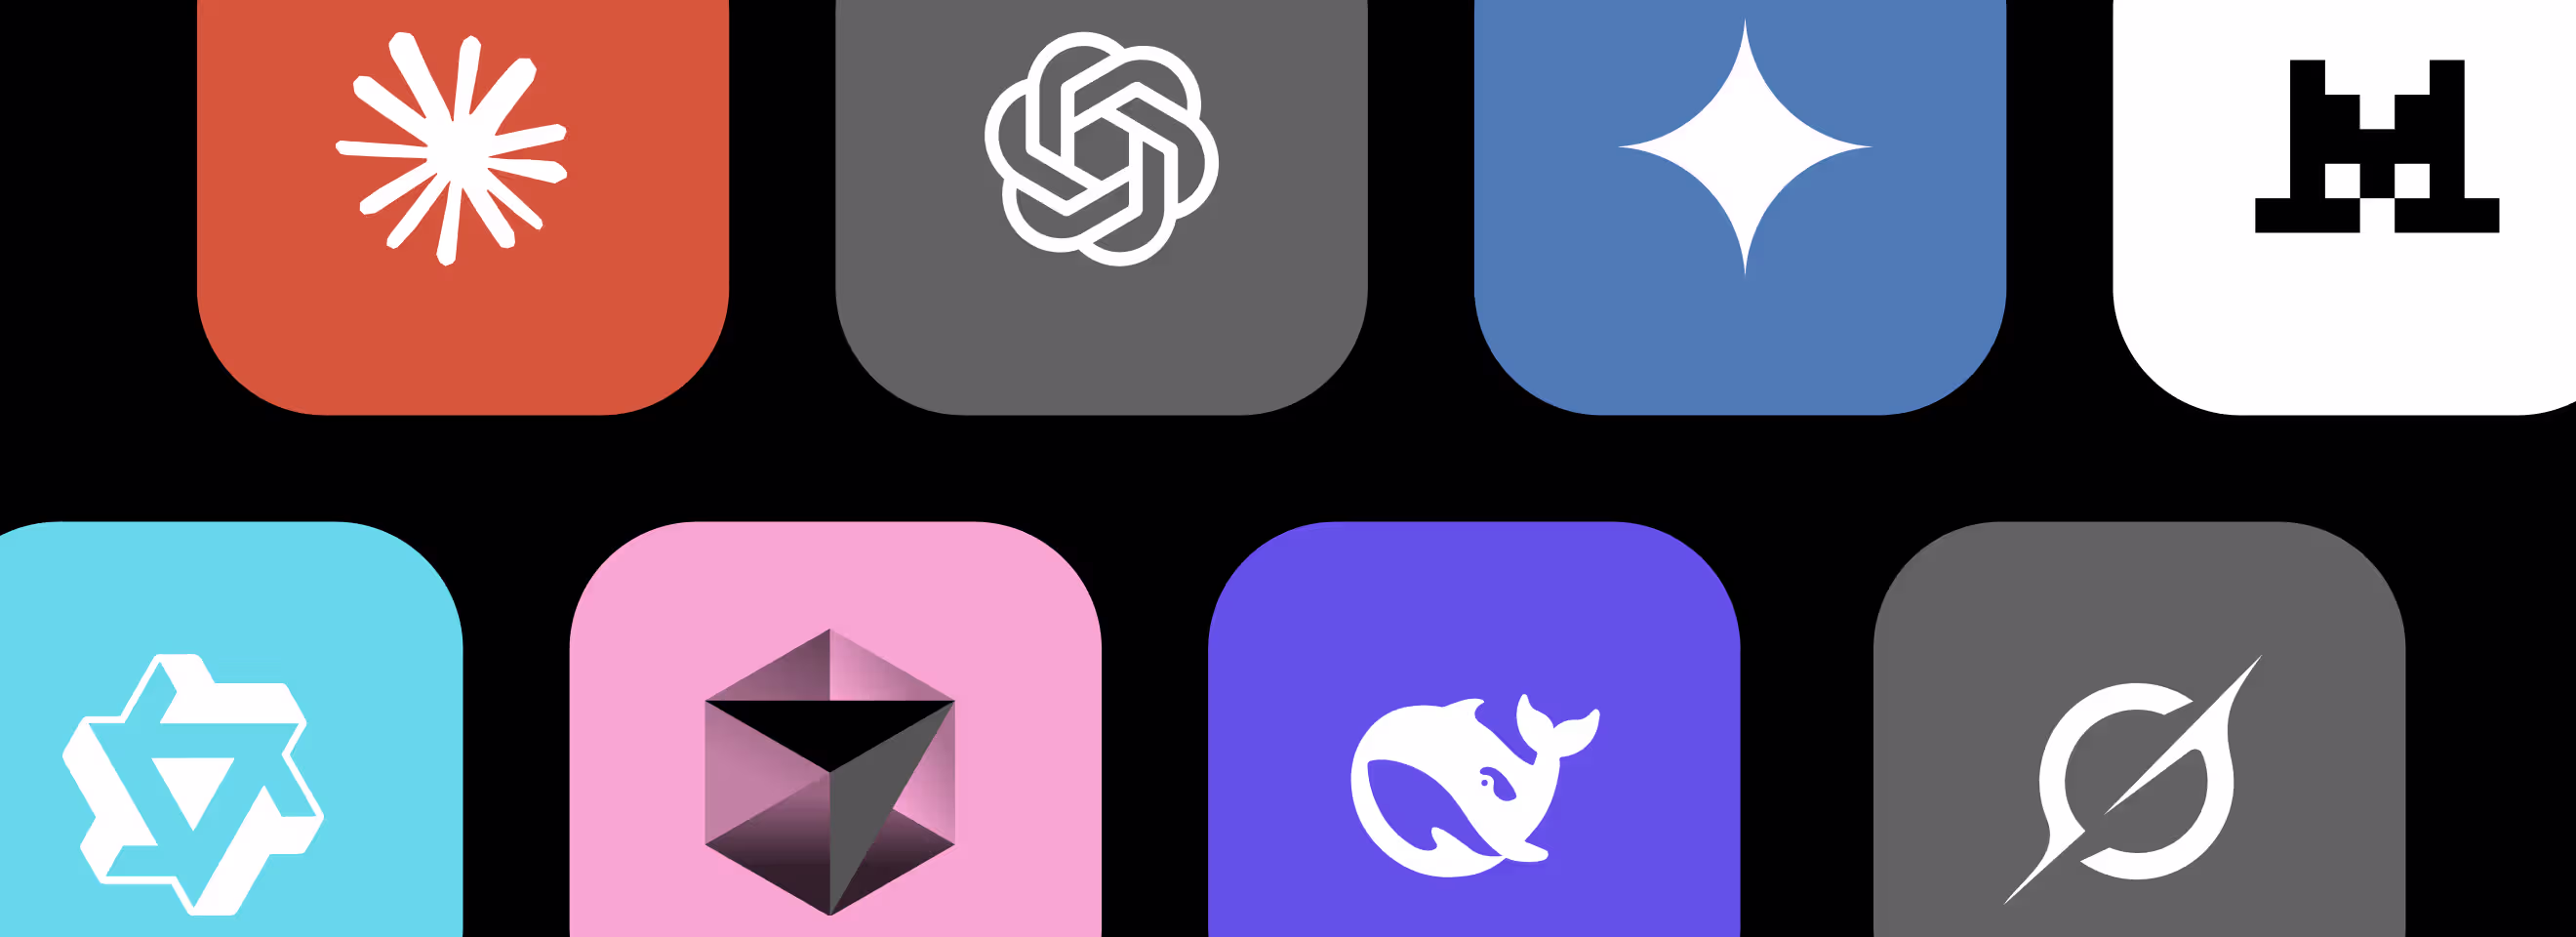
Add AI to Your App—Without the Overhead
Build RAG systems, API integrations, and embedded chatbots using the best models available—ChatGPT, Claude,
DeepSeek, Grok, and Gemini. Deploy AI features on the same infrastructure your app already runs on. Pay per token,
scale without limits.
Ship Fast, Stay Secure
Granular access control, network isolation, and ISO/IEC 27001:2022-certified
operations—with EU data residency by default.
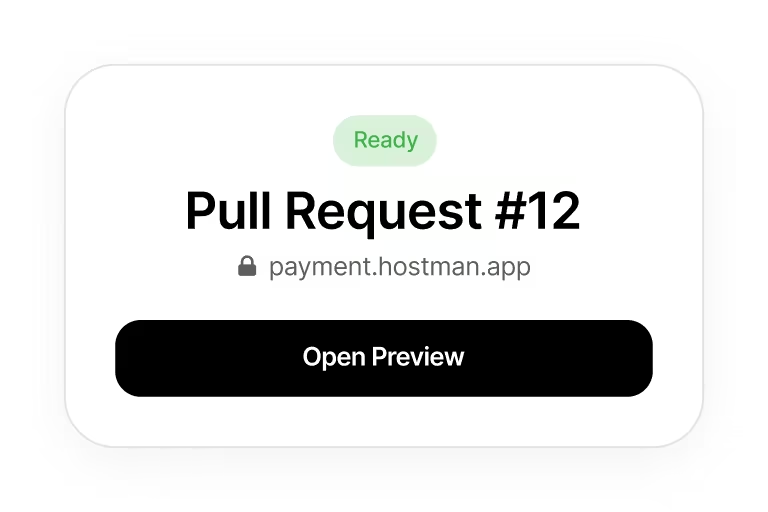
Preview Environments
A unique URL for every Pull Request. Review, test, and approve before you merge—no more "works on my machine."
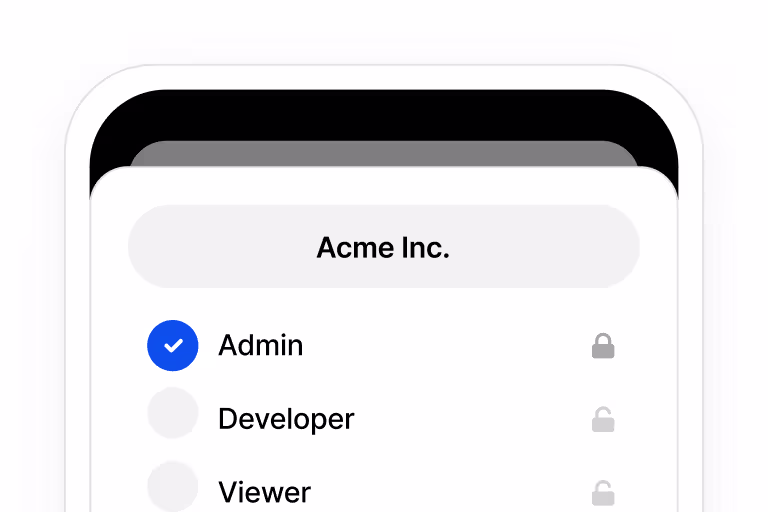
Centralized Oversight
Granular permissions, role-based access, and transparent billing. Built for tech leads who need control, not complexity.
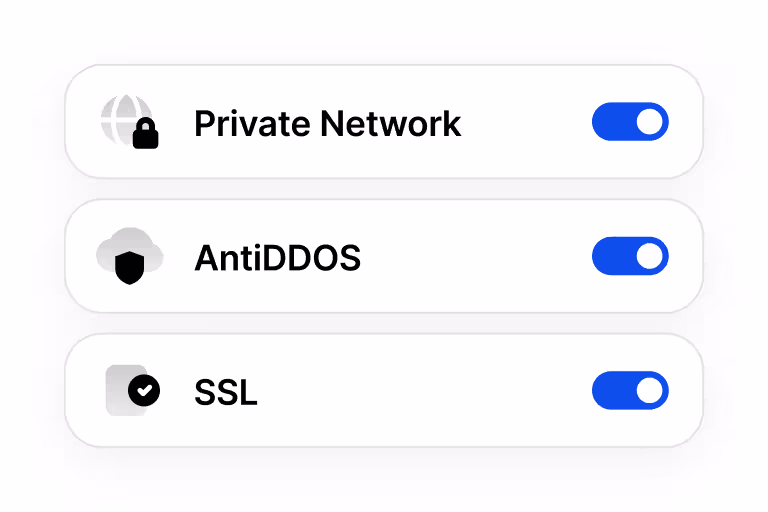
Networking & Security
Private networks, automated SSL, and DDoS protection—backed by ISO 27001 and GDPR compliance.
Why Teams
Are Moving to Hostman
From solo developers to engineering teams—see what people ship on Hostman.


